Task

This week's task was to fabricate the FabTinyISP PCB board and solder the surface mounted commponents to it. The FabISP is an AVR ISP programmer that will be programmed by using an existing programmer, which will initialize the new board. In order to do so, I refered to Brian's ATtiny45 version of the board.


Preparation


Zeroing

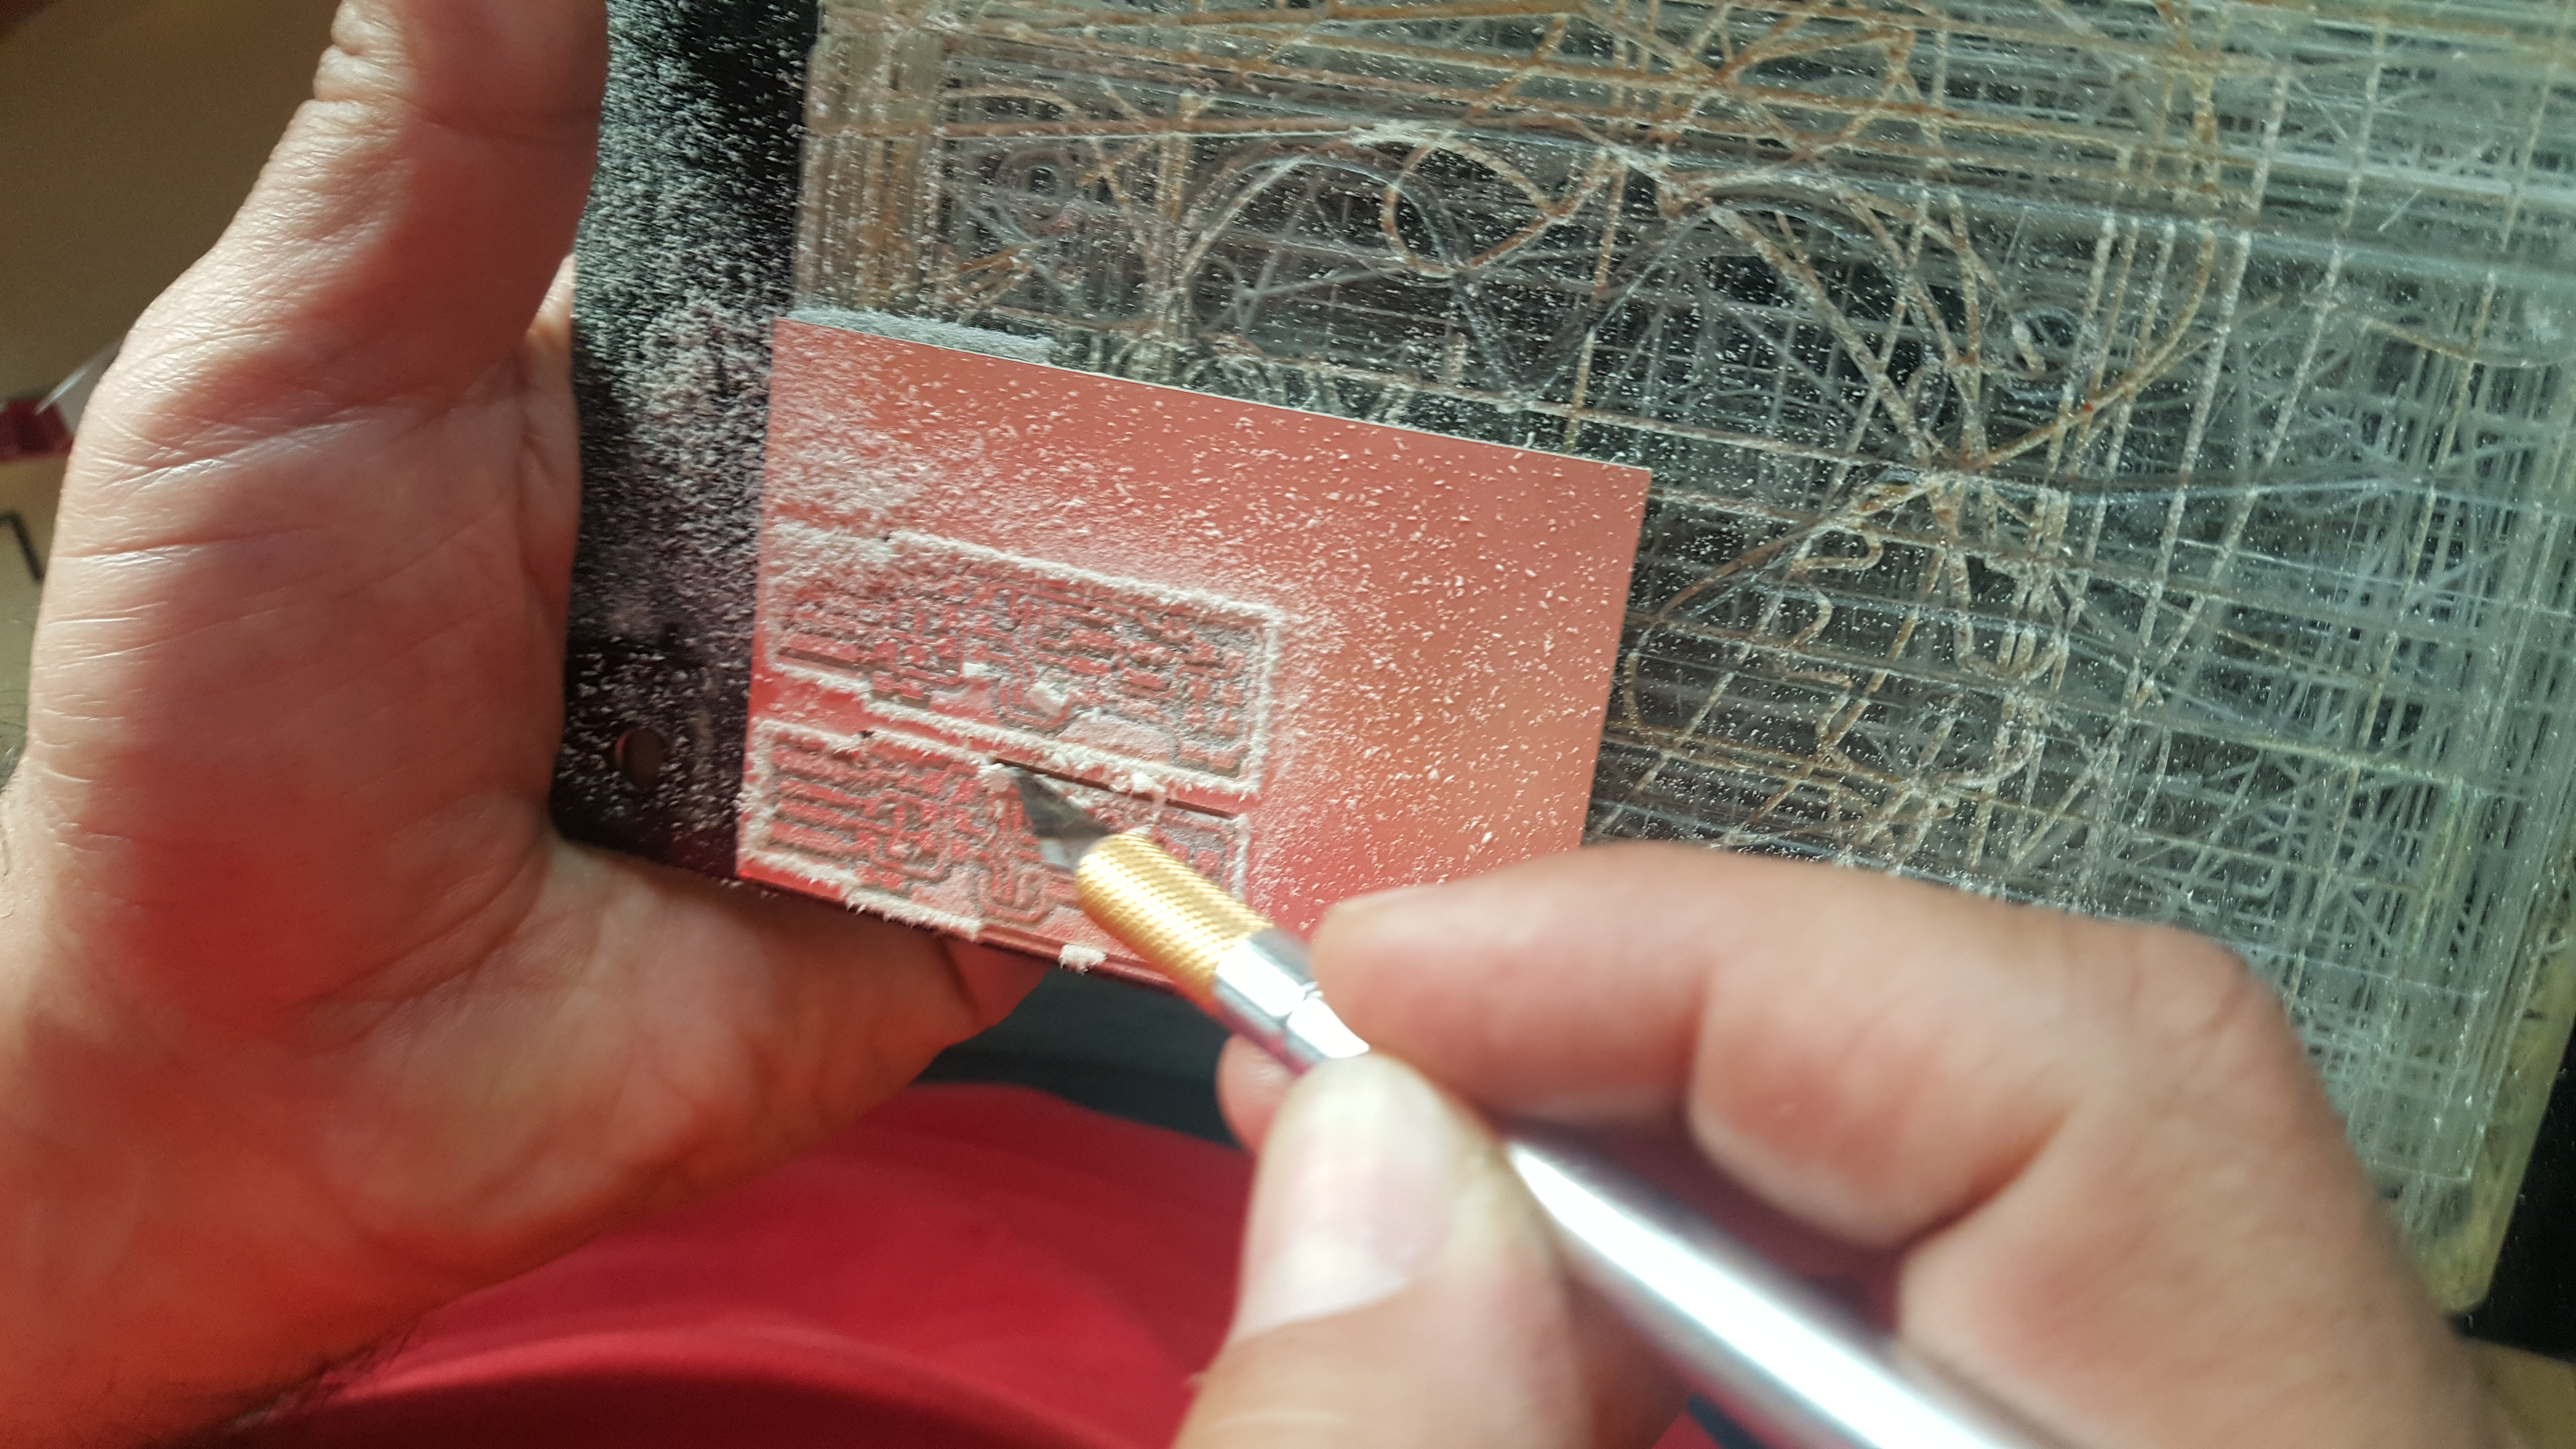
The first step into prepating the milling machine was to calibrate the z-axis, which was done by unscrewing the screw that holds the tool and lowering the tool until it gently taps the surface of the board, and then screwing it back again. The figure below shows the tool after it was lowered to the zero position.

Traces

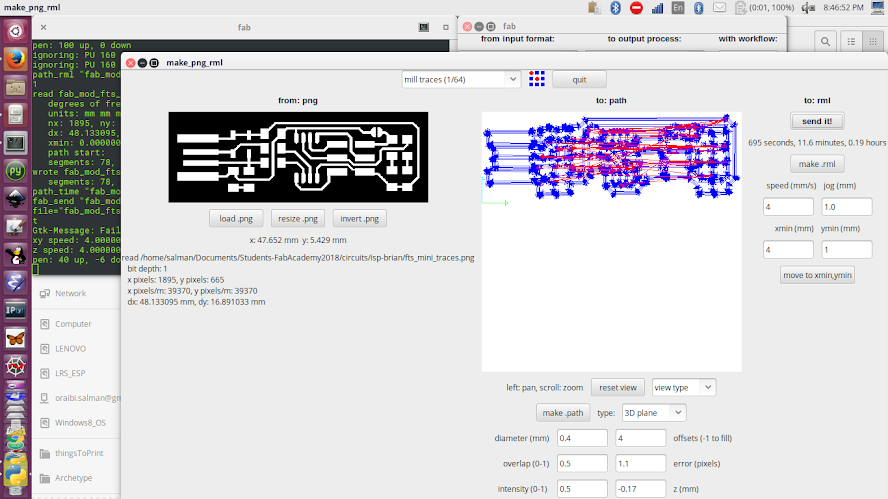
The traces for milling the board and the outline cutout of the board are shown below (click on the image to download).

Inner

Outline


PCB Fabriacation

Milling the traces

Traces settings

  1. Import the inner_traces.png file of the traces into the program
  2. Select the bit size that is going to be used (1/64")
  3. Change the type to 3D plane
  4. Change the depth of the cut on the z-axis (-0.17mm was selected, but was a bit too deep)
  5. Change the starting x and y coordinates of the pcb board (4mm,1mm) and move the bit to the specified position
  6. Calibrate the z axis position by lowering the bit until it becomes at the level of the pcb.
  7. Make the .rml file and send it to the milling machine

Milling the outline cutout

  1. Import the inner_traces.png file of the traces into the program
  2. Select the bit size that is going to be used (1/32")
  3. Change the type to 3D plane
  4. Change the depth of the cut on the z-axis (-1.65mm)
  5. Change the starting x and y coordinates of the pcb board (4mm,1mm) and move the bit to the specified position
  6. Calibrate the z axis position by lowering the bit until it becomes at the level of the pcb.
  7. Make the .rml file and send it to the milling machine

Milling process

Removing the PCB and gathering the components

Removing PCB Sorting Components

Soldering

Soldering

Final


Programming the board

Six steps were followed to program the circuit and make it a programmer:
  1. Installing avrdude by typing the following command:
    sudo apt install avrdude gcc-avr avr-libc make
  2. Downloading the firmware code from here
  3. Change the programmer that is going to be used in the downloaded make file. In my case it was avrisp2.
  4. Run: make flash

    Flash

  5. Run: make fuses

    Fuses

  6. Verify that the programmer is working by running lsusb

    Verification


Download original files

Inner traces
Outline cutout